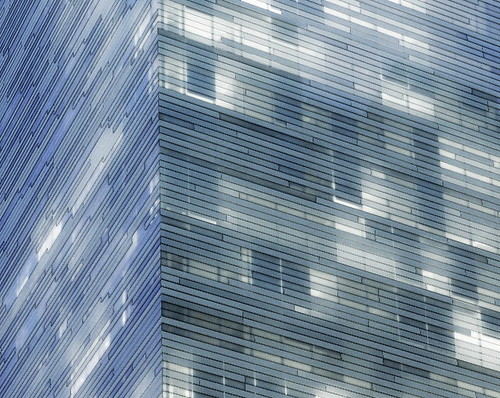
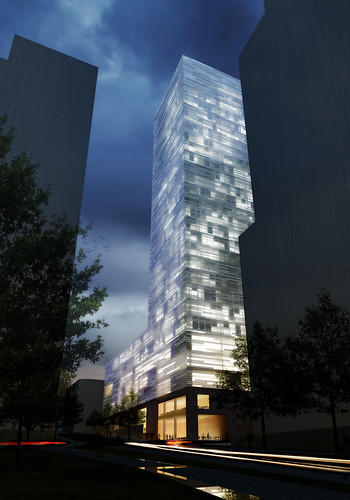
I had some request on how this tower image was done so here is a small making of this particular project. Even if VRay is not really required for this tutorial, it will be explained with some of this wonderful render engine functions.
Basically the skin of the tower model consist of three layers. The challenge was to build each of these layers in a random way, where no repetitive pattern should be seen. Ideally it would create a “meta-randomness” ^^ in the whole tower. These layers were, from inside to outside :
- Individual offices illuminate randomly in the upper side of the tower, I’ll call them “cells”.
- Window Blinds, roller type. Randomly opened.
- Complex facade system of horizontal reglit like elements, consisting of three different opacities randomly dispersed.
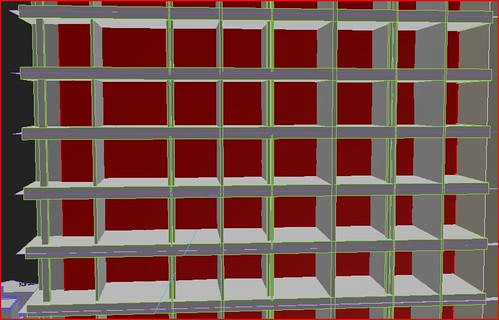
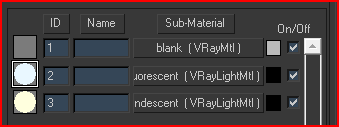
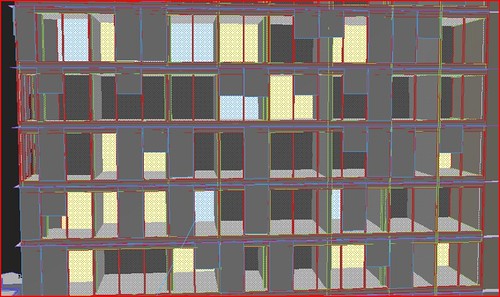
This process was repeated on the 4 sides of the building (or at least on the sides that would be seen). After that, It was converted it into an Editable Poly and all vertexes were broken. This will assure every rectangle of the shape to one individual element each (and then to be mappable individually) I apply then a MaterialByElement modifier and a Multi/Sub-Object material to the object with at least 2 materials : one fully transparent, or with the color of the wall and the other one as a VRayLightMtl. You can add different VRayLightMtl in position 3, 4 etc. if you want to simulate different color temperature. The result should look like this :
The strength, frequency, seed and color of the different lights are fully editable afterwards, before the final rendering.
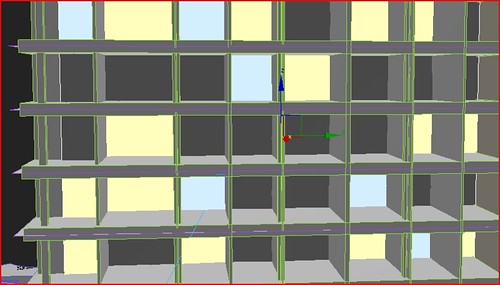
The second part, the blinds, was actually the most simple layer to make, cuz it was actually a very helpful script called Fassadeblinds by Christian Bauer. Just tweak a bit to have the desired effect. Below you can see the effect (notice that I’ve also added frames and glass to the facade, but those are static and non-random) Again, it is fully editable within the parameters of the “blinds” object. Thanks to Christian.
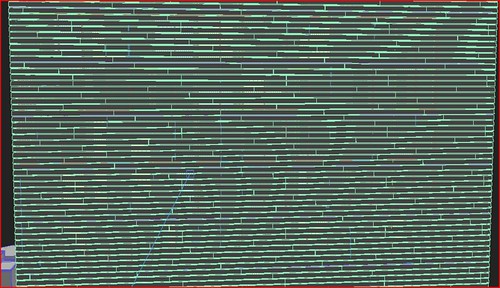
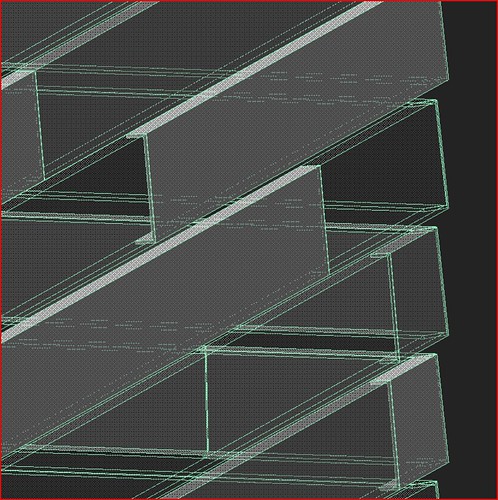
Now comes the most difficult part of the project, the reglit one, maybe where a pattern should be avoided at all cost. Drawing a whole random distribution of the horizontal element on the complete heigth of the tower would be a nightmare to model, so I decided to make approx 10 horizontal stripes around the tower then repeat this “hard-modelled” pattern until the end of the tower. The result did look like this (the pattern is already barely noticeable)
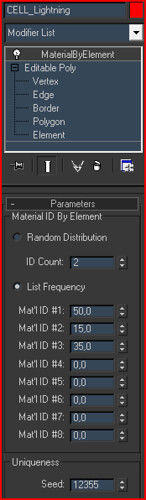
Then the trick is, again, to break your object into individual element and to map them randomly with MaterialByElement (yeah I’m a huge fan of this modifier, maybe because it’s one of the rare random modifier you can find in max ;) With 3 materials of different opacities, you can achieve a really nice non-patterning effect.
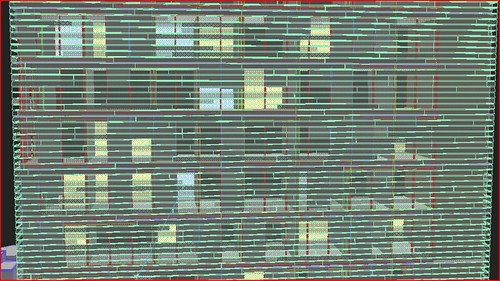
Notice how the elements are shelled to achieve best glass looking results (I advice you to make this modifier visible in rendering only to avoid viewport lag ;)
With those 3 layers, the effect at the render was already awesome, but it needed some post tweaking in photoshop to achieve the final result. This is why I finally broke the external layer into 3 objects, with 3 different wirecolors in order to get a nice VRayWireColor render element pass. By doing this, each of the 3 glass types of reglit can be edited individually in post. But that’s another story ;)

No comments:
Post a Comment